Wednesday, 25 June 2014

3D Fiberlash Mascara by Younique - Review

Hey Beauties....

Today I want to tell you about this new generation 3D Fiberlash Mascara by Younique! It creates a real 3D effect, as you'll notice a big difference once you try it.

And it is:
  •  Chemical free
  •  Natural
  •  Has green tea fibers
  •  Goes on like mascara, but looks like false eyelashes
  •  Water resistant
  •   Easily comes off with warm water & facial cleanser.


As you can see my natural blonde eyelashes are quite difficult to notice without Mascara, and with this one the result is really great as in some way it looks like false eyelashes, but they are all real.

3D Fiberlash Mascara gives you extra volume and length, and at the same time it all feels natural.

So here's some tips for using it:
  • Do one eye at a time 
  • Use a lash comb to separate lashes and eliminate clumps
  • Apply 3D Fiber Lashes as many times as you want, but be sure to seal them with Transplanting Gel each time


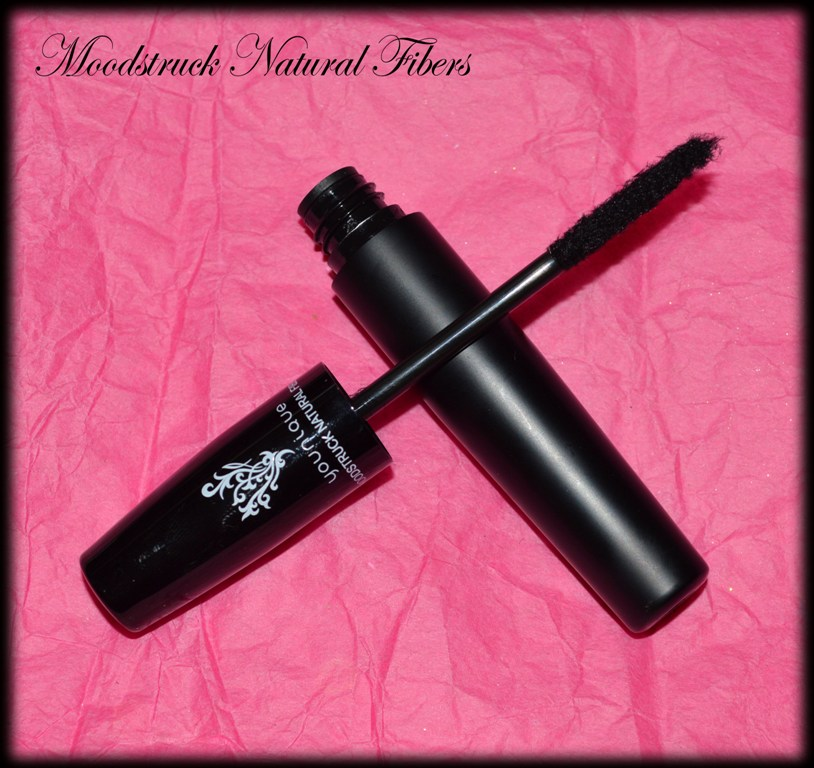
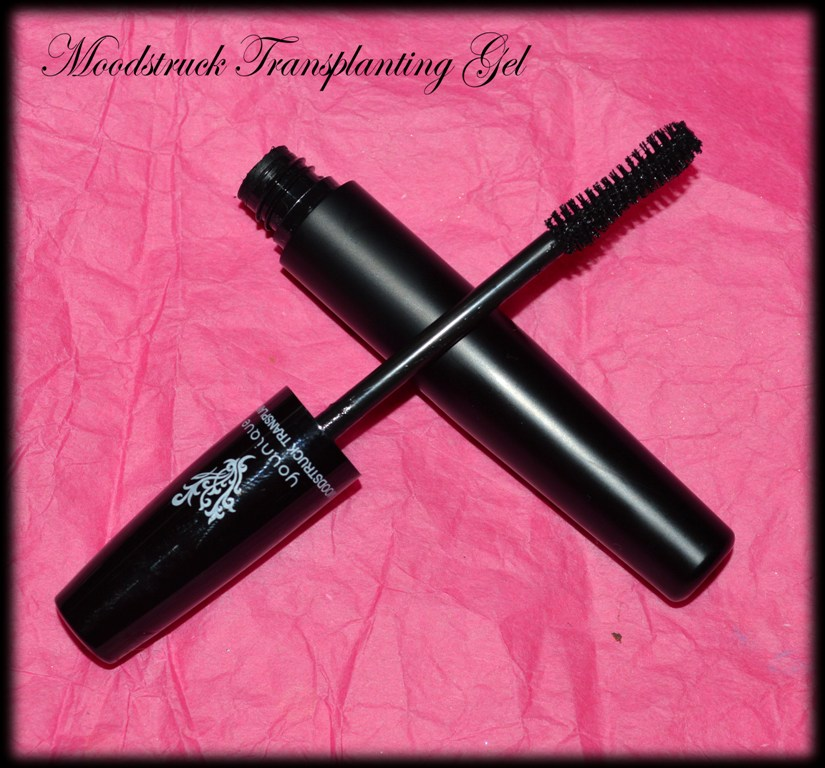
So it comes in this beautiful case, one being the Natural Fibers & the other is Transplanting Gel. Also you'll receive instructions on how to use it for best results.

So the case contains:

- Moodstruck Natural Fibers


- Moodstruck Transplanting Gel


This 3D Mascara costs only $35 and you can order it from here.

I happily recommend it, as it is definitely worth it.

You won't be disappointed!!!

Also check Jocelyn Marie's Makeover Party FB page for more information and other Younique products.

Tuesday, 10 June 2014

Perfect SMOKEY Eyes - Some Tips

Hey Beauties....


Even if smokey eyes makeup is a widely used technique, in reality it is not so simple as it appears to create it. For a stronger look, choose between shades of black, dark blue etc and for a softer, more natural style, you can also experiment with brown, plum etc. It takes a lot of technique and precision to avoid the risk of looking like a panda. So I'll share some of my tips with you to get the optimal result, very refined and at the same time very trendy.


  • Start by drawing a line with a kohl pencil along the lash lines (top and the bottom one) and choose  the same colour as the eyeshadow. The base of the smokey eye is the most important step. The difference between a kohl pencil and a normal one is that it's easier to apply and blend with a kohl pencil. It is also perfect as a base eyeshadow because it makes the matte effect last longer.

To make the right shape of your smokey eye, it is very important to have the right "tools" (brushes). My advice is to use a small stiff brush to smudge the kohl so as to have a good base. (If you have some experience with creating this look, you can even use your finger to blend the kohl). In this way, the eyeshadow will not end up in the wrong areas.


  • Now take a small blender brush to spread the eye shadow. Apply the product on the line created with the kohl pencil, saturating it. I suggest to spread the eye shadow starting from the lash line and blend it upwards.

  • Now, with the help of a soft brush, feather the edges of the colour you applied. Unfortunately the movement is not one of the easiest and it will take you a bit of experience to refine the technique, but with practice, you will quickly improve.  

TOP TIP: the line of the eyebrows must remain perfectly clean.

  •  Do the same with the lower lash line.


TOP TIP: apply the full colour just along the lash line (top and bottom), to create the intensity of your look. Never put too much eyeshadow (colour) at the same time, it's better to increase the colour for a better result, instead of overdoing it.  Otherwise you will need to wipe it up after (as it won't look clean).  

At this point you should already see a gradation of pigments, from lash line (darker) to the upper eyelid (lighter).


  • Add some 'shimmer'  on your eyelid below the line of the eyebrows. The effect should be very light to give the illusion of flawless skin. Obviously the transition from dark eyeshadow to a shiny product should be gradual and not very strong.

TOP TIP: finally, once your look is finished you can use a moistened cotton swab (preferably with a water based tonic) to clean any imperfection around the eye

  • The last thing: don't forget the mascara!!! (you can try Younique 3D Mascara , soon review about it)


TOP TIP: with smokey eyes it's better not to overly make up your face with strong colours on the lips. You want the eyes to be the feature with this look, so nude lips could be the perfect choice for you, or even just a lip gloss with a subtle pink, peach or coral shade.

(Credits: these are all looks from my photoshoots with amazing photographer: Heidi Hannele Photography; picture N°7 by Giulia Photography).

Thursday, 22 May 2014

"Violet Voss Cosmetics" - Review

Hey beauties....


 This is a review of the amazing Glitter by Violet Voss Cosmetics!


Let's start with the very important Violet's Secret Weapon (Loose pigment & Glitter Adhesive). This is a transparent adhesive that locks down pigments and shimmer & doesn't let them fall down (really great product if you love glitter). 

And here's  the beautiful Glitters "Tiffany" & "Electric Love":


"Tiffany" - Soft pinky glitter with demi sparkles.
"Electric Love" - Beautiful red glitter with orange sparkles.

 Here are the looks created using these glitters: 


Another series of Glitter, "Jade" & "Tristen": 


 "Jade" - full pigmented green (Tinkerbell colour)
"Tristen" - beautiful blue - turquoise colour 


And the last 3 colours: "Parker", "Wendy" & "Brenda"


"Parker" - a beautiful lilac colour
"Wendy" - whiter than fresh snow .. subtle sparkle.
"Brenda" - amazing green/blue glitter


It was the first time I tried this brand and I'll definitely keep using it, as I love their glitter, because they are all very fine, super sparkly & eye safe glitters!  All the colours are amazing, I can't wait to try the rest of them. I definitely recommend them :)


Saturday, 10 May 2014

Natural Look For Photoshoots


Hey Beauties.....


Today I want to share with you, how important is to know how to create a natural look for a photoshoot. If you are a Make Up Artist (or a model that doesn't have a make up artist on set), very often you'll be asked to create a natural look for the portfolio. It is one of the most important beauty pictures in the model's portfolio, because when the models are being selected from their pictures, the natural look has to absolutely correspond with the actual look. With all that, it doesn't mean the model doesn't wear any make up. The main thing is to accentuate the model's natural features and beauty.


Makeup for photography is generally heavier and more exaggerated than daily makeup. Before you begin applying your makeup you should always start with a good moisturized base for your eye area, face, and neck. (Also a big tip for models,  using a deep cleansing or deep moisturising facial mask two days before you have a professional photo shoot as it so important to have really healthy looking skin.  This will make your skin look more refreshed, it saves time for MUAs to make your skin look  better and for photographers with postproduction).

So the second step is a good makeup primer to prepare your skin for the foundation (apply on the face, eyes and never forget the neck). Now that your skin is ready we can apply the foundation ( in photography, always match your foundation color to the rest of your skin). After applying your high definition foundation, don’t forget to use the concealer to cover spots, small blemishes, and to help camouflage dark circles. 

Make sure you apply everything correctly so that you don't notice your foundation.  Try to blend everything very well (a beauty blender can be a big help), so after that fix everything with light powder, such as a high definition loose powder or a mineral makeup (mineral veil product).


Once the foundation is finished, it’s time to add more natural contours to the face. The heavy foundation plus bright lights will wash out the shadows on the face if you forget this step. 

Also, remember the blush:  the first time it should be applied and spread in a wide circle, and the second and third in progressively smaller areas, it is very important to use a small amount at a time.
Blend the edges into the skin to make it look more natural.

Fill in your brows: even if usually you don't fill in your eyebrows, fill them in for your photoshoot.  Your eyes and face will look much more complete if your eyebrows are looking polished (especially for blondes. Blonde eyebrows will disappear in photographs).


After the face, it's time to start with the eyes. Make sure to choose a colour that suits your style and eye colour, and it is very important to keep it quite natural & simple (so NO bright colours & thick eyeliner, as it will detract from your face and will concentrate all the attention on your eyes).

When you apply eyeshadow, always do the crease of your eye. Many people love wearing only one color of eyeshadow, but in pictures a single eyeshadow color usually doesn’t show up, especially if you’re using neutral tones. Make sure you create a crease of your eyes with a darker color . 

Absolutely apply mascara as it will create the deeper look for your eyes, (but don't overdo it, to not look like doll's eyes). Darker colour works better for mascara, so black is usually the best choice, even if you normally use brown.


So now it's time for the lips. Choose the medium colour (don't go too bold and obviously not too colourful), but also it has to follow the entire make up of your face. Probably the best choice would be the shade of lipstick in a pink or plum shade, it dependes on your skin tones and your hair.  You can choose between the lip gloss or lipstick (or even both), as it will give you the effect of a fresh look (lip gloss is often effective in making the lips fuller.).


 I'm sure this article was useful for you, and will help you to create a more natural look for your photoshoots.

(These are all natural looks from my photoshoots with amazing photographers: Heidi Hannele Photography, Ladyphoto, Beautography - Beauty & Photography & Simon Everiss).


Sunday, 30 March 2014

Review - "TheBodyNeeds" - Eyeshadows


Today I want to talk about these wonderful products that I had the pleasure of trying. TheBodyNeeds is a really lovely website where you can buy good quality TBN cosmetics, such as  pressed and loose eyeshadows, glitters, lipsticks, blushes, concealers, etc, and also some samples of MAC products, in case you've never tried them before (sometimes to buy the whole product is really expensive). Again,  one of the most important thing for me, they are Cruelty Free!!

But let's talk about their eyeshadows first. All of the colours I've tried are really nice, and are very sparkly (as you can see in the pictures).


  • "Supernova" - Medium Teal Blue with High Shimmer Gold 
  • "Juniper" - Ocean Blue with a Golden Duochrome 


So what can I say about these eyeshadows?

They are made from mineral pigments & other natural ingredients that give us the long  lasting coverage while allowing your skin to breathe. So they are really perfect for all types of skin.

They are really very soft & easy to apply & you don't need to use lot's of product to have a strong & intense colour. 

You can choose between 5 grams (for only $ 1.99) or 10grams (for $3.79). So as you can see the price is really very low for the quality you'll get.

They also ship internationally (I received them in Australia in only 12 days).

Thank you for reading & next time I'll talk about their lipsticks & blushes, so keep watching.....